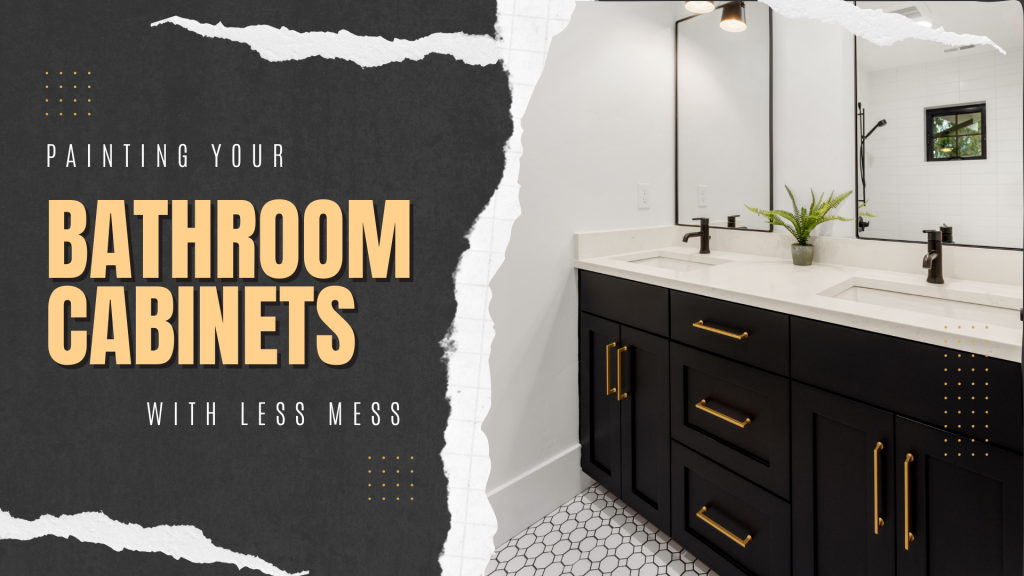
Painting Your Bathroom Cabinets With Less Mess in Holland, PA
Doing a bathroom cabinet painting project is a simple but great way to update your bathroom’s overall appeal without spending too much money – it is significantly less expensive but equally impactful and changing for you!
However, just because this is a smaller-scale project doesn’t mean that you can just go easy on it; if you’re not careful enough, you might find yourself in a project full of mess.
So, if you want to avoid this for your upcoming bathroom cabinet painting project, here’s something you should know!
Here are ways to Painting Your Bathroom Cabinets With Less Mess.
1. Proper Preparation Is Essential
In order to significantly avoid making a mess in your painting project, you should remember that proper preparation beforehand is essential.
Preparing for your painting project ahead of time gets you to be on top of all the things and processes involved in your project, makes sure that you have all possible mistakes corrected and streamlined, and essentially ensures less mess down the line.
It is important to remember that a poorly planned project will have more than just a few mishaps here and there, and each one of those will create some kind of mess that will just be a hassle to fix.
So, to start, you’ll want to envision exactly what you want to do with your project, and list all the materials you’ll need to acquire.
Then, you’ll have to prepare your bathroom area for a painting project, which you can do by:
- Removing all items from inside the cabinets and clearing the countertops to create a clutter-free workspace,
- Covering the surrounding floor, walls, and fixtures with plastic sheeting or drop cloths to protect them from paint splatters and drips.
- Removing the cabinet doors and other cabinetry hardware that might be in the way of painting your cabinets. Cabinet doors and handles are easier to paint when they are removed from your mainframe and laid flat on a surface.
Remember that if you fail to plan, you plan to fail – and a failed painting project is just one hell of a mess!
2. Clean and Sand the Cabinets
You’ll also want to clean and sand your cabinets to ensure that the fresh paint will have a cleaner, smoother surface to adhere to.
Start by thoroughly cleaning the cabinet surfaces with a mild detergent and water to remove dirt, muck, and any other residue that might have built up on it over time.
Once the cabinets are clean and dry, lightly sand the surfaces with fine-grit sandpaper to roughen up the existing finish and promote better paint adhesion.
3. Use Drop Cloths and Painter’s Tape
To avoid mess in your upcoming bathroom cabinet painting project, drop cloths and painter’s tape will be your best friend.
Paint drips and spills tend to be inevitable in every painting project – just the natural tendency of working with paint – so to protect your bathroom interior from these, make sure to cover them up with drop cloths.
Ideally, you’ll want a canvas-type drop cloth, as this is the type of fabric that doesn’t let paint seep through it.
It’ll also be hard to paint over the edges and corners of your cabinets without smearing paint all over the area, so you’ll want to use painter’s tape for these areas.
Painter’s tape will help you ensure straight, clean lines for your cabinet’s edges and borders, essentially minimizing the mess in your project.
4. Apply Paint Strategically
When it comes to painting your bathroom cabinets, the key is to apply paint strategically to minimize mess and achieve a flawless finish.
Start by applying a thin, even coat of primer, and use long, smooth strokes with a brush or roller, working in the direction of the wood grain for a smooth and uniform finish.
Take your time and work in small sections, overlapping each stroke slightly to avoid drips and streaks.
If you’re using a sprayer, maintain a consistent distance and speed to ensure even coverage and minimize overspray.
5. Allow for Proper Drying
After applying the fresh coat of paint on your cabinets, make sure to allow ample time for the fresh coat of paint to fully dry.
If you notice any uneven coverage or streaks, make sure that the initial coat of paint is dry first to avoid damage or smudging.
Also, do not forget to set proper ventilation when drying your cabinets, since paint fumes can be harsh to the nose and pose some risks to your health.
Once the paint is dry and cured, reassemble the cabinets and enjoy your refreshed bathroom space!
If you need professional help with your interior/exterior painting project, PAINT Philadelphia can help.
Our home interior/exterior painting services are available in Newtown, Holland, and Richboro, PA.
Call us today at (267)682-8377 for a FREE painting estimate.
Related: Handy Guide To Painting Wooden Fences in Newtown, PA
Reasons Why You Should Be Painting Your Ceiling in Holland, PA

Andrew Tomasetti is not just a painting contractor, he is the owner of Paint Philadephia; a painting company in the greater Philadephia area that services the Holland, Newtown, Churchville, Yardley, Richboro areas.
Paint Philadephia is an interior, exterior and cabinet painting company that offers their customers top-notch services and their exclusive “On Time, On Dime” guarantee. They take a holistic view to all of their paint jobs offering free color and design consults, test samples, free touch ups on all painting projects, and warranties on all of their work.
Andrew Tomasetti is both a veteran and an engineer. His passion for hands-on work comes from his father and uncle and runs deep in his veins.

